Quickstart
1. First launch — grant Accessibility
The very first time clipboarder opens, you'll see an orange banner across the top:
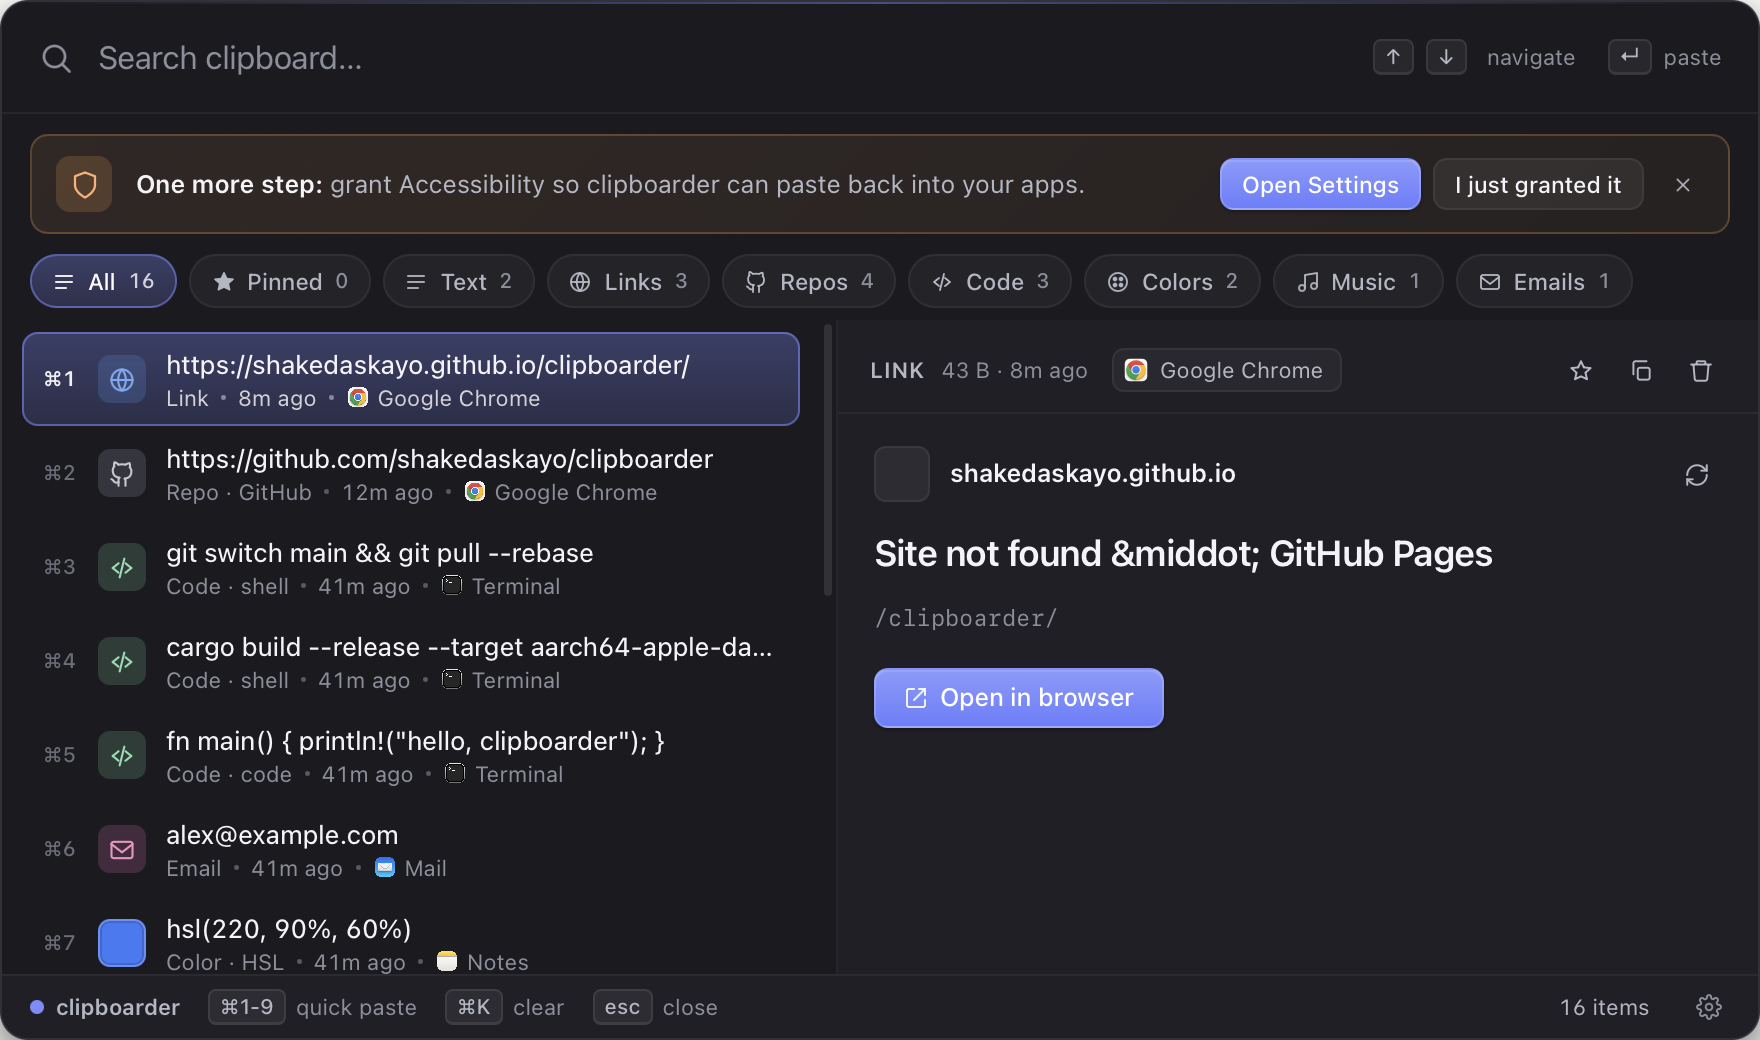
Click Open Settings. macOS will jump straight to System Settings → Privacy & Security → Accessibility. Toggle clipboarder on (or click + and add it from /Applications).
Come back to clipboarder. The banner detects the change within a couple of seconds and flips to a green ✓:
✓ Accessibility granted · paste-back is now active.
You only do this once. clipboarder remembers across launches.
What if I skip it?
Copy to clipboard still works — selecting an item with Enter puts the content on your system clipboard. But the auto-paste step that synthesizes ⌘V into the previously-focused app needs Accessibility. Without it you'll have to press ⌘V yourself.
2. Open clipboarder
After install, clipboarder is running in the background. There's a tray icon in your menu bar (top right), and the global hotkey is armed.
3. Press ⌘⇧V
From anywhere — Safari, VS Code, Slack, Mail — press ⌘⇧V. The overlay floats in centered on screen.
If you don't see anything, check the tray icon and click Show clipboarder.
4. Search
Just start typing. clipboarder runs full-text search over your history as you type. Hostnames, file names, code keywords — all indexed.
Search          [ react        ]
─────────────────────────────────
⌘1  📄  const Component = () => …
⌘2  🔗  Link · github.com/facebook/react
⌘3  🔗  Repo · facebook/react
5. Navigate
| Key | Action |
|---|---|
↑ / ↓ |
Move selection |
Enter |
Paste selected item into previously-focused app |
⌘1–⌘9 |
Quick-paste the Nth result |
Esc |
Close the overlay |
6. Filter
Tap a chip in the row of categories below the search bar — All, Pinned, Text, Links, Repos, Code, Images, Colors, Music, Video, PDFs, Emails, Files — to show only that kind of content.
7. Pin what matters
Open the Preview pane (right side) and click the star to pin. Pinned items:
- Float to the top
- Survive
Clear history - Carry a small ⭐ in the row
8. Customize
Press ⌘, (or click the gear in the bottom-right of the overlay) to open Settings:
- Hotkey — record any combination
- Launch at login — toggle on for always-on
- History limits — cap the size, auto-clear after N days
- Privacy — exclude apps like 1Password from being captured